- Â
5 Challenge
í Week 11 Challenge: Disposable Spoon
Build the common disposable plastic spoon depicted below. This object will be distributed in class for you to inspect. This Rhino file provides some of the curves you can use to build this object. Begin by building just the “top” surface of the spoon (as shown below) – don’t worry about giving it thickness or making it a solid. If you succeed with that, try to complete the “bottom” and other surfaces necessary to form a solid.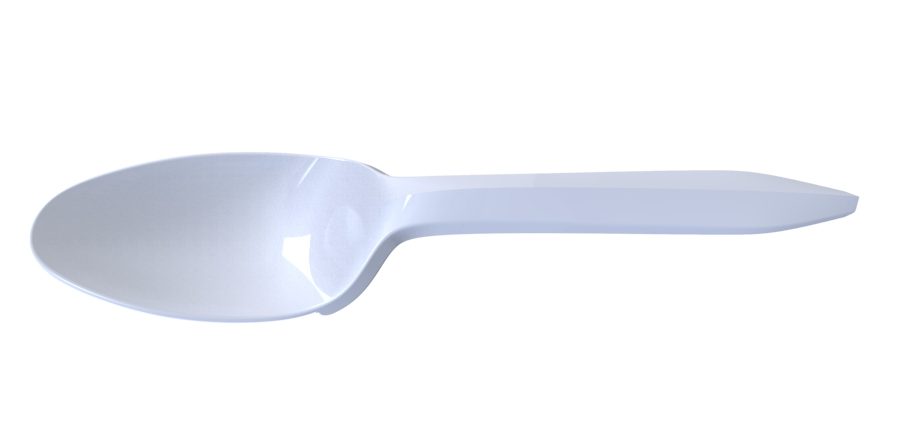
í Week 10 Challenge: Steel Spoon
Build a model of the metal spoon that has been distributed in class. Orthographic top and side view images of the spoon are provided for your convenience below.


í Week 9 Challenge: Y Branch
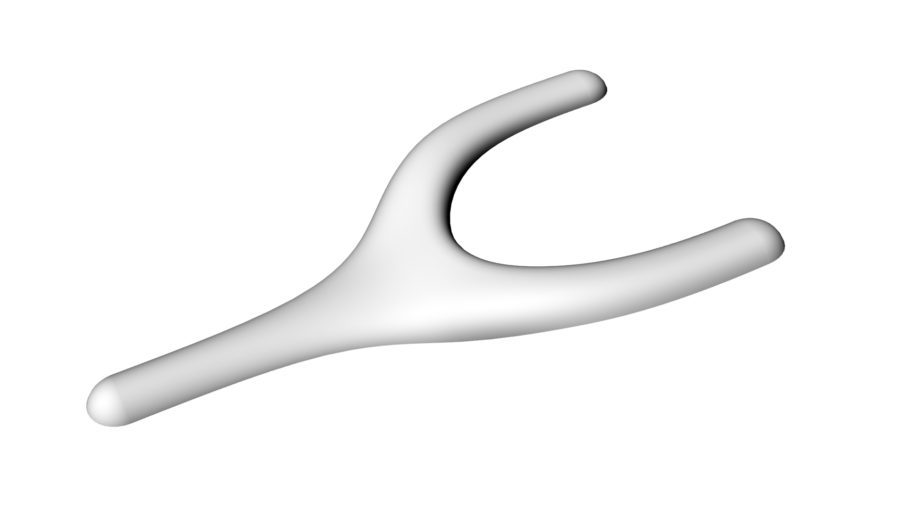
Build the object shown below. The Rhino file available here has curves you can use as a reference to build with / from.
http://3d2018.christopherspecce.com/wp-content/uploads/2018/04/Y-Branch-Challenge2017.zip
í Week 8 Challenge
Using the Rhino file provided below as a starting point, build the object shown below, paying attention to the transition between surfaces.
https://3d2017.christopherspecce.com/wp-content/uploads/2017/04/TorquedRing.zip

í Week 6 Exercise: CAM or Chair Modeling
If you have not completed your name plate and the Cat Face tutorial, we can use the start of class to work on this.
If you have, you can work on the following exercise:
Create several chair models, each one using the following commands as the primary (if not exclusive) method for creating the form:
- Revolve
- Extrude
- loft
- Sweep1
- Sweep2
- NetworkSrf
Put each model on a layer in the same Rhino file. Using Keyshot, create a rendering of the 5 chairs in one image. Post this image to the shared google drive. Name this file: FirstnameLastname_6Chairs.jpg
í Week 5 Challenge: X
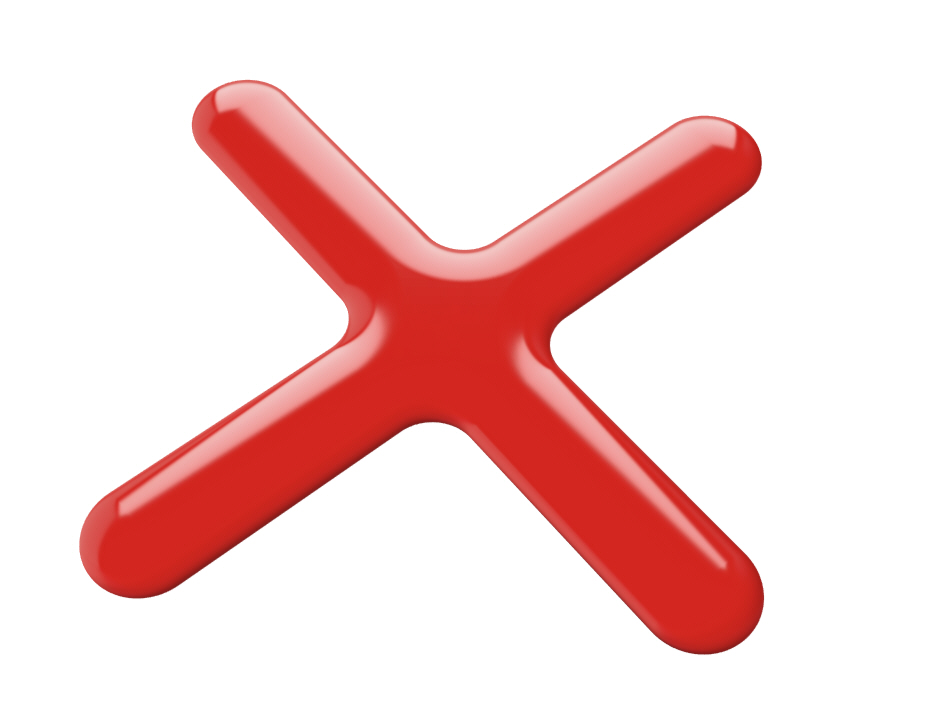
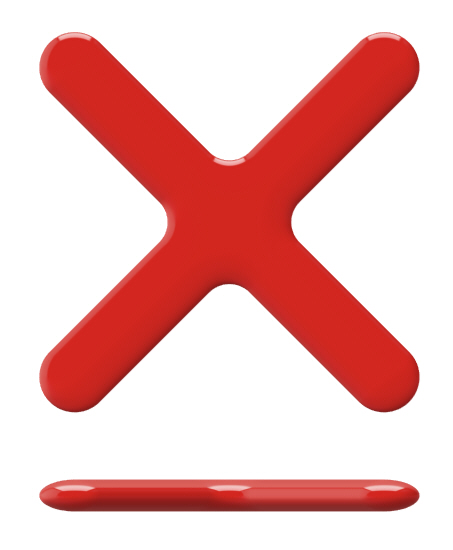
Working from the provided Rhino file, build the form shown below (do not use the patch tool!)
Orthographic Views:
í Week 4 Challenge: Toy Boat
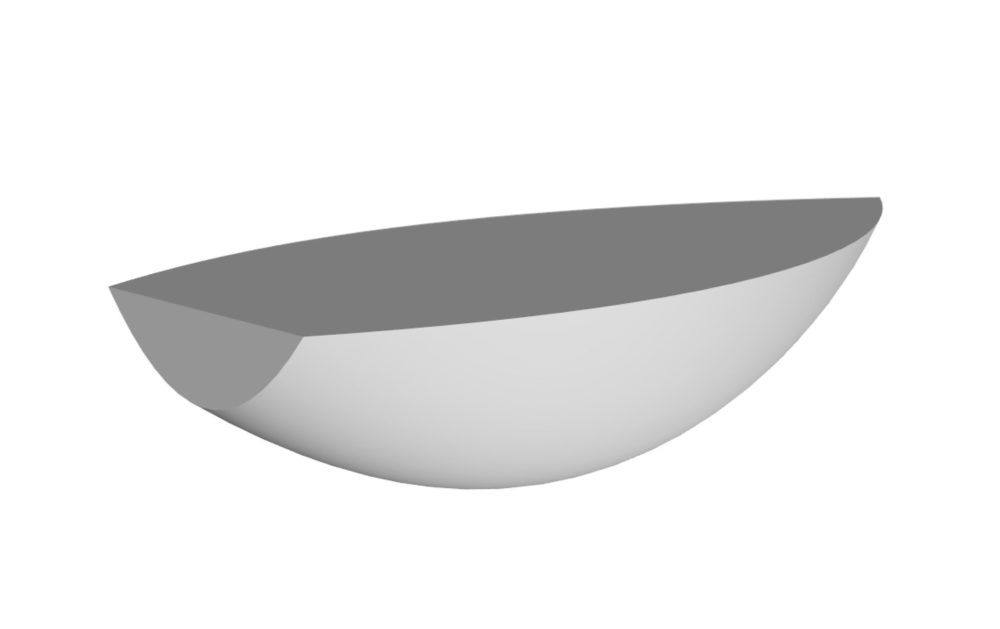
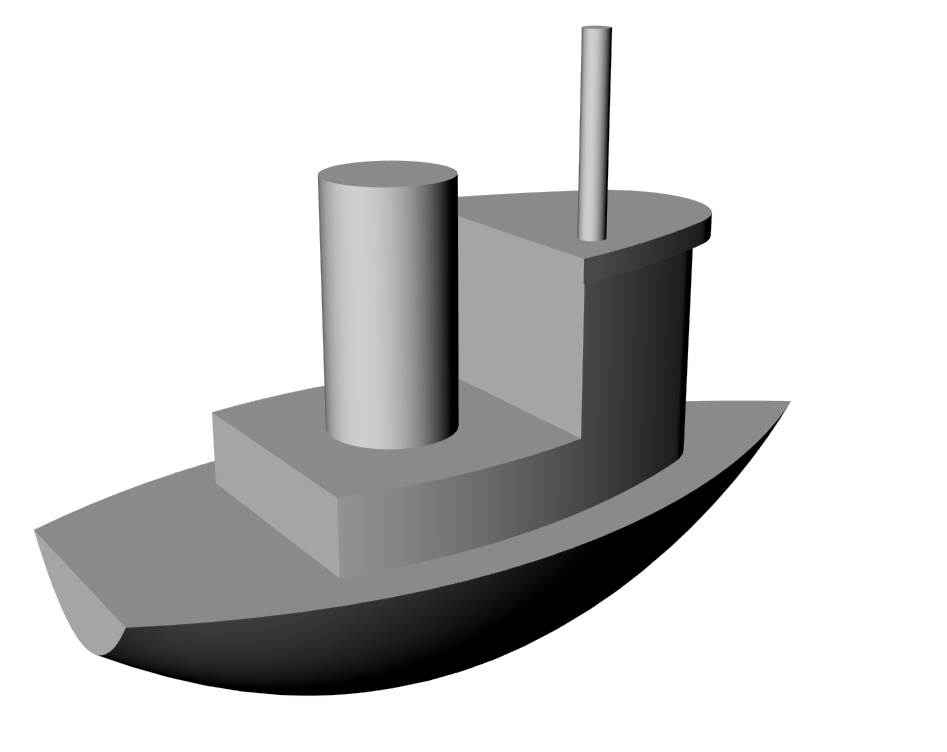
Build a model of the toy boat indicated in the orthographic views found in this zip folder.
Start by building the hull:
If you finish with that, build the cabin shown in the orthographic drawings:
í Week 3 Challenge: Pencil
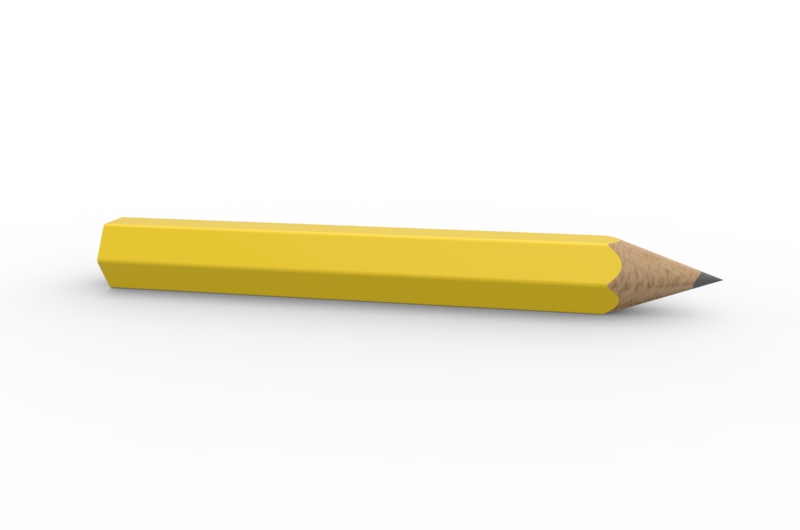
Build a model of a sharpened wood “golf” pencil. Sample pencils will be distributed for inspection and measurement. First and foremost this exercise is about form, but proportions and dimensions are important too. Don’t worry about materials you can build this as if it was all one single material / piece.
í Week 2 Challenge Part 3: Lego Figure
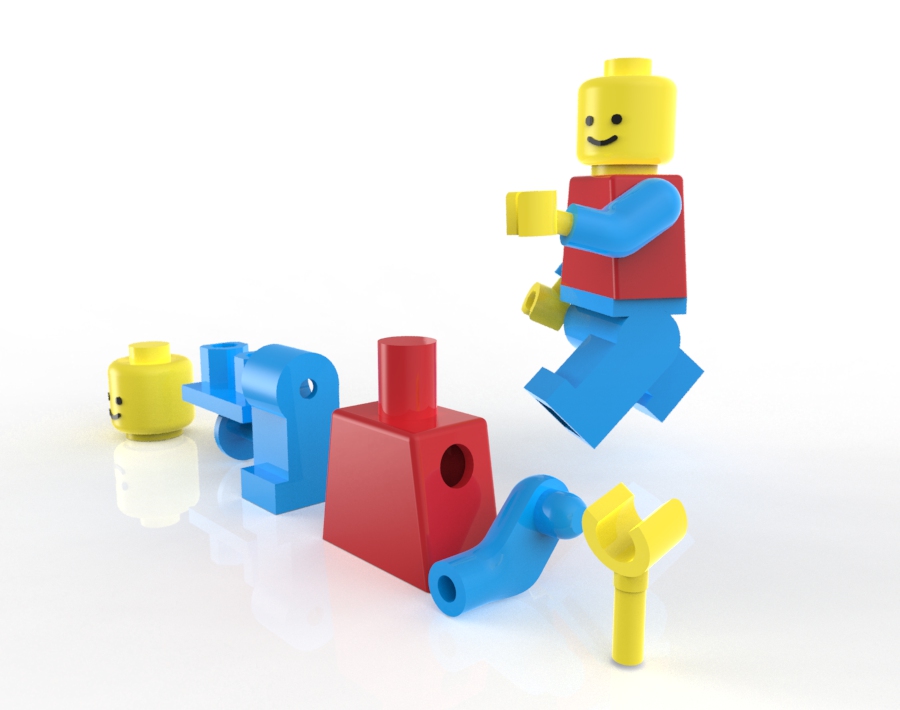
Using this Rhino File, assemble the Lego figure in the poses indicated in this document.
Keep the original model, and make a new layer (or set of layers) for each pose. If you finish early, use Keyshot to create a rendering of the assembled and posed figures.
í Week 2 Challenge Part 2: Tracing in 3D
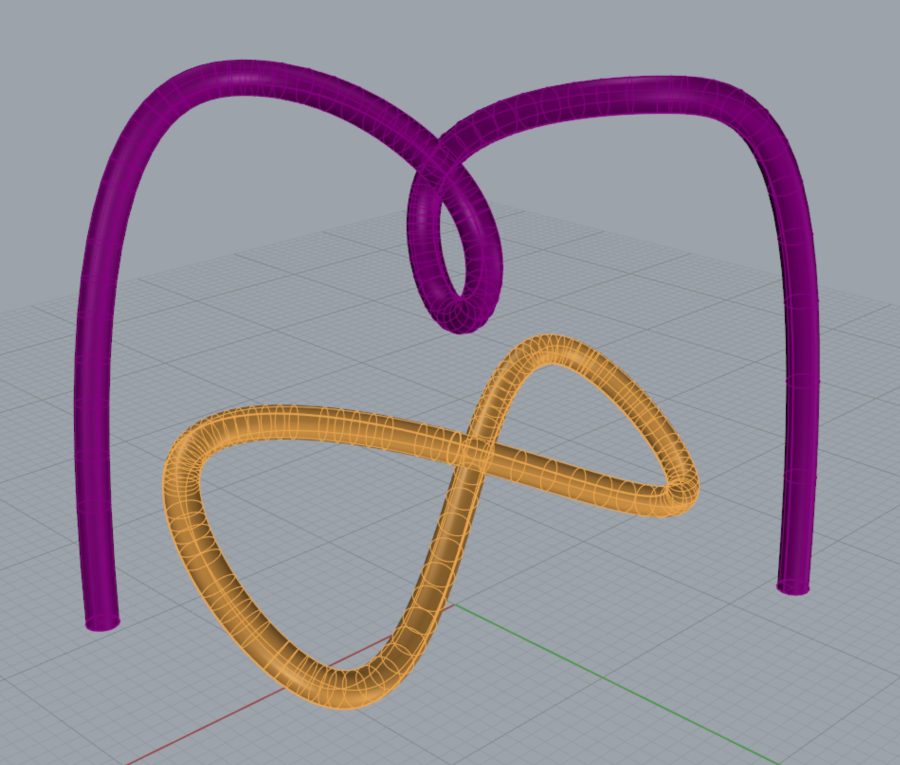
Fit a control point curve in the tubes included in this model. Use the exact number of points indicated by the layer name.
í Week 2 Challenge Part 1: Tracing
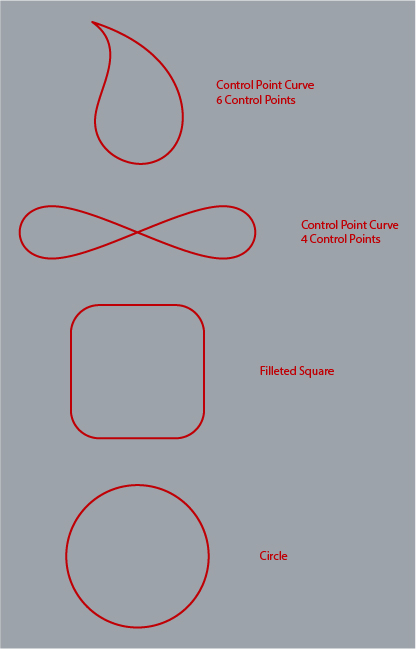
Use the image below to trace the figures shown in red. When indicated, use the drawing tool called out. Two problems have specific instructions regarding the number of points allowed.
í Week 1 Exercises
Download this ZIP file.
Paper versions of some handouts will be distributed for your convenience.
1. Transforming Exercise
a. Follow the directions in the PDF called “TransformExercise”. Work in the Rhino file named “TransformExercises”, it contains all of the geometry you will need, with each problem on separate layers. Place your work on the corresponding layer as you go, as necessary.
2. Drawing Exercise
a. Trace the 3 objects shown in the Rhino file named “TracingExercise” using the polyline and control point curve tools.
b. Recreate the geometry indicated in the PDF called “PrecisionDrawing+RevolveExercise”.
3. Modeling Exercise
a. Recreate the revolved solid shown in problem 2b.
