- Â
å Monday, March 5th, 2018
B Unroll Surface Video Demonstration
This video provides an in depth review of the “Unroll” command
You can download the model used in this video here.
B Video Review of Make2D
If you’re looking for a review of the Make2D command that was covered in class, here’s a video that provides a quick refresher. FYI – this video isn’t mine – it’s from Polyplane.com
í Assignment 3
1: Mustard Bottle Tutorial
Follow along with the tutorial that shows how to build a mustard bottle. Try as best as you can to copy the rendering shown in the tutorial page.
2: Paper Model, Phase 1
Working from the Paper Model project Brief:
- build a model of your object in Rhino
- translate this model into developable surfaces
- unroll the surfaces into a pattern that can be cut
- revise and modify as necessary (add tabs, etc)
- cut out this pattern in paper by hand from a printed pattern, with the laser cutter, or with the digital die cutter.
- assemble
- experiment with media as necessary to create a representation of the object’s materials
Place the following content into a new google drive folder called “Firstname Lastname Paper Model Phase 1”, put this folder in your personal folder and the shared folder for this project. In this folder, put the following images
- a Keyshot rendering on a neutral background. Render the model used to generate your patterns using “toon” shaders to provide an impression of the color(s) your paper model will use
- screenshot in orthographic view of your cut pattern – this screenshot should show your pattern as curves, not surfaces. The commands DupEdge, DupBorder, and DupFaceBorder will be helpful in getting curves from your unrolled surfaces.
- photo of your assembled paper model
3. 3D Printing
If you haven’t already done so, submit one of your glasses for 3D printing. We are pushing back deadline for this part of the assignment.
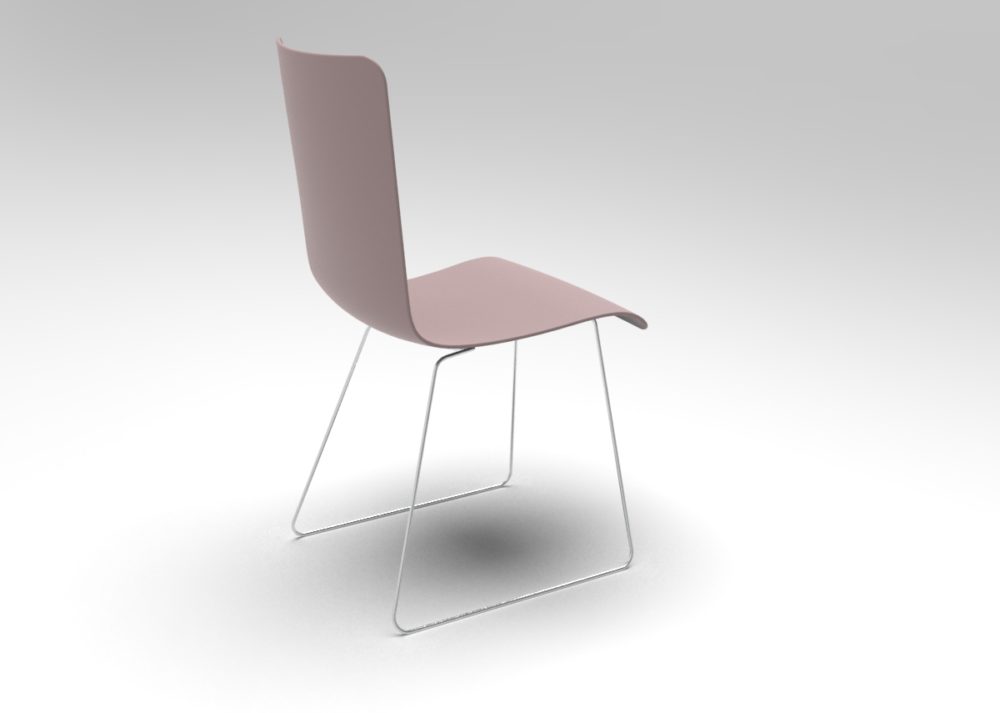
4: Chair Study Revisions
Rebuild at least one of your chair models to more accurately capture the form and proportions of the physical examples. Think critically about the appearance of your model vs. what you see when looking at the chair. Use photographs as reference if necessary.
Re-render the chairs in a neutral setting, using only simple extrusions as the pedestals to create an unobtrusive environment for the rendering. The goal is to create a rendering that demonstrates competency creating near photo-realistic renderings of realistic looking image of a plausible photoshoot. Follow the specifications below:
- the armchair should be shown with an opaque black gloss paint, with natural caning for the seat and back
- one of the other chairs should be shown in an opaque satin paint finish, in either white or red
- one of the other chairs should be shown with a clear satin lacquer over natural wood
- use this image as your backplate
- use a smooth, opaque, matte or satin finish for the pedestals – choose white, gray, or neutral shades of colors.
- make sure “ground shadows” is turned on (environment tab)
You are also welcome and encouraged to continue revising your glasses, especially the renderings.
B Mustard Bottle Tutorial
Download this PDF file which covers the steps to build the mustard bottle shown below.
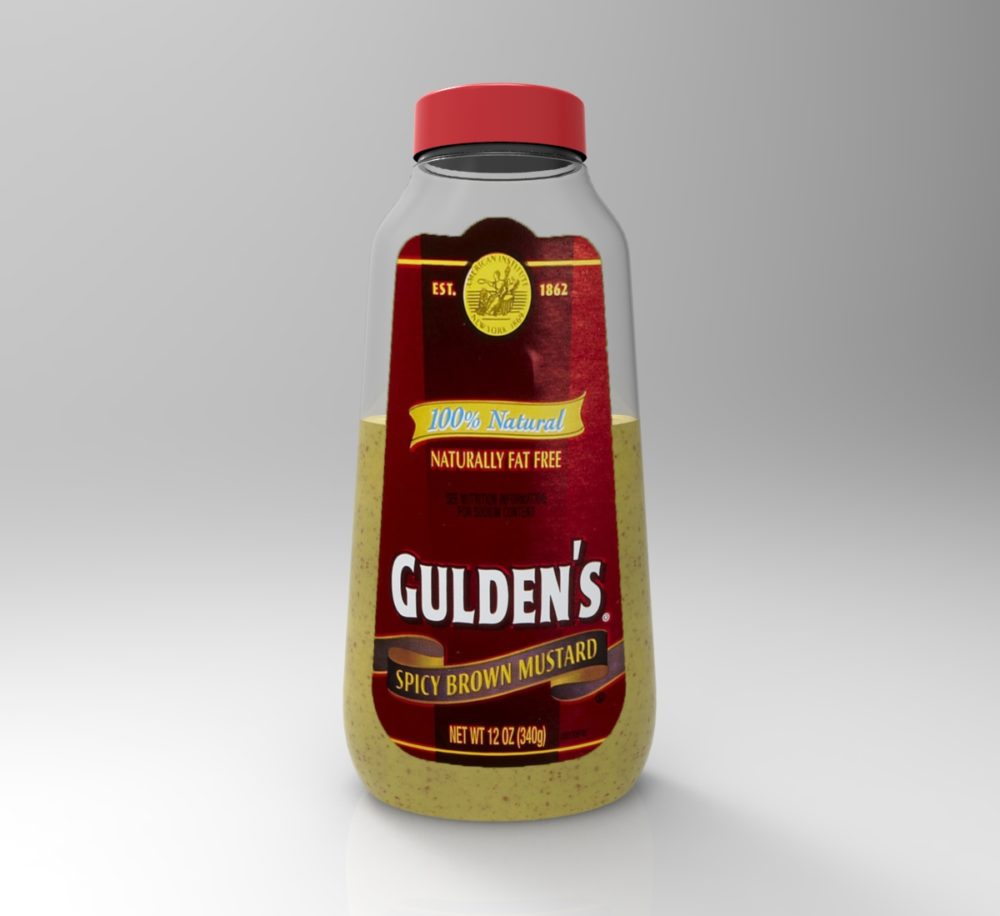
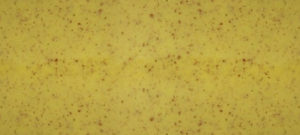
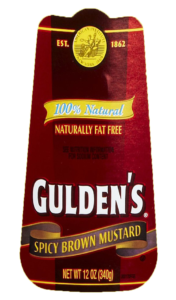
Create a rendering of your completed bottle. You can use the the mustard image below as a texture map for the mustard, and the image of the label as a “label” in Keyshot.
B Surfacing Tools Demonstration
You can download this file to follow along during the demonstration of surfacing tools.
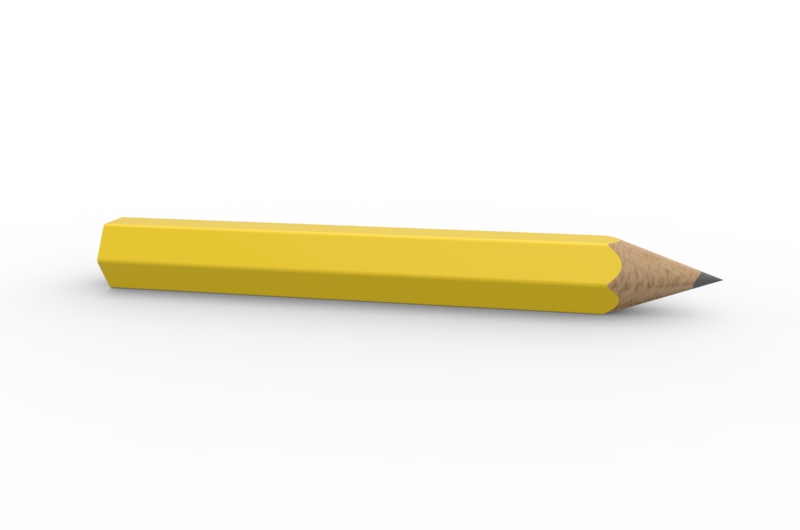
í Week 3 Challenge: Pencil
Build a model of a sharpened wood “golf” pencil. Sample pencils will be distributed for inspection and measurement. First and foremost this exercise is about form, but proportions and dimensions are important too. Don’t worry about materials you can build this as if it was all one single material / piece.
-
Classroom
-
