I know there was some difficulty getting the renderings of the glasses to look right. I did some research and it looks like the newer versions of Keyshot require a slightly different strategy to get the glass to look right. In my video I show making separate “bodies” for the glass and the liquid. This is done to avoid interference between the glass and the liquid where the surfaces are occupying the same space. The extra step is to separate (using explode or extractsrf) the top of the liquid – that would make contact with the air – from the liquid that would make contact with the glass. There are additional settings that need to be configured for each part. See a full explanation here:
https://blog.keyshot.com/2016/render-liquid-glass-keyshot

Here’s a quick test rendering I did:
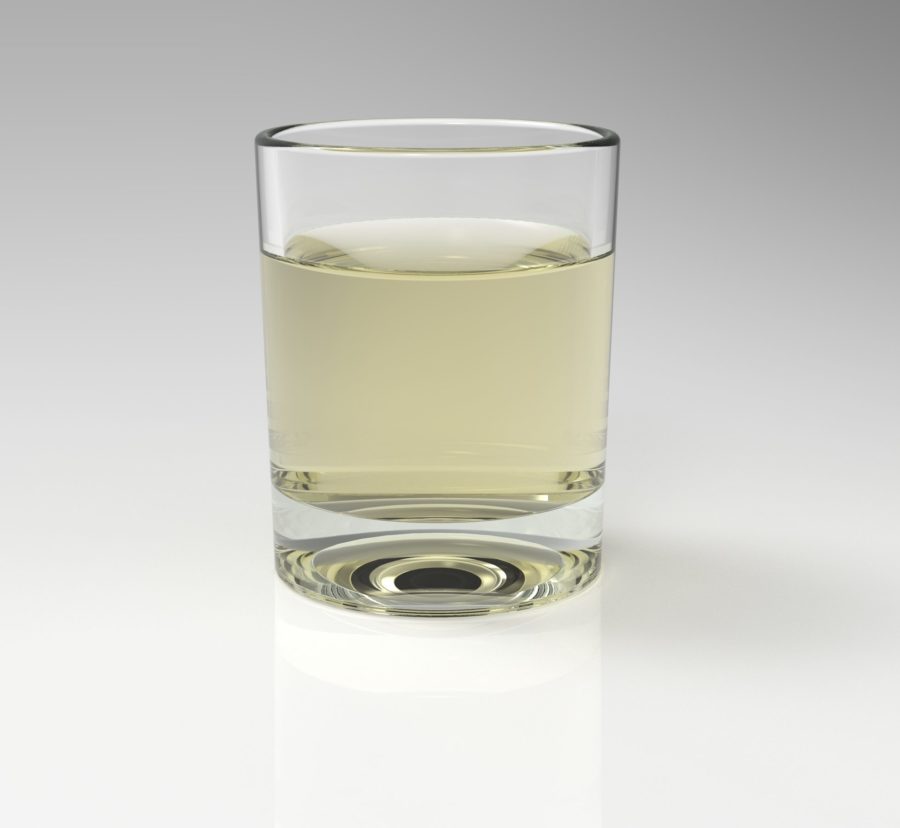
Another feature that is relatively new to Keyshot is a setting called “transparency distance”. This setting is found on both the liquid and glass(solid) material and if you are trying to render a colored liquid it will be important to understand. Essentially, transparency distance can be understood as a color that correlates to the thickness of a part. If the part thickness is equal to the transparency distance, the material will be the color assigned to the transparency distance attribute. As the thickness decreases, the color becomes lighter and less saturated, and as the thickness increases, the color becomes a darker and more saturated. You can see a nice overview of this here:
https://blog.keyshot.com/2016/how-to-adjust-color-density-on-transparent-materials-in-keyshot
![]()
Some more detailed and technical discussion around this topic can be read in this forum post:
https://www.keyshot.com/forum/index.php?topic=19466.0
